
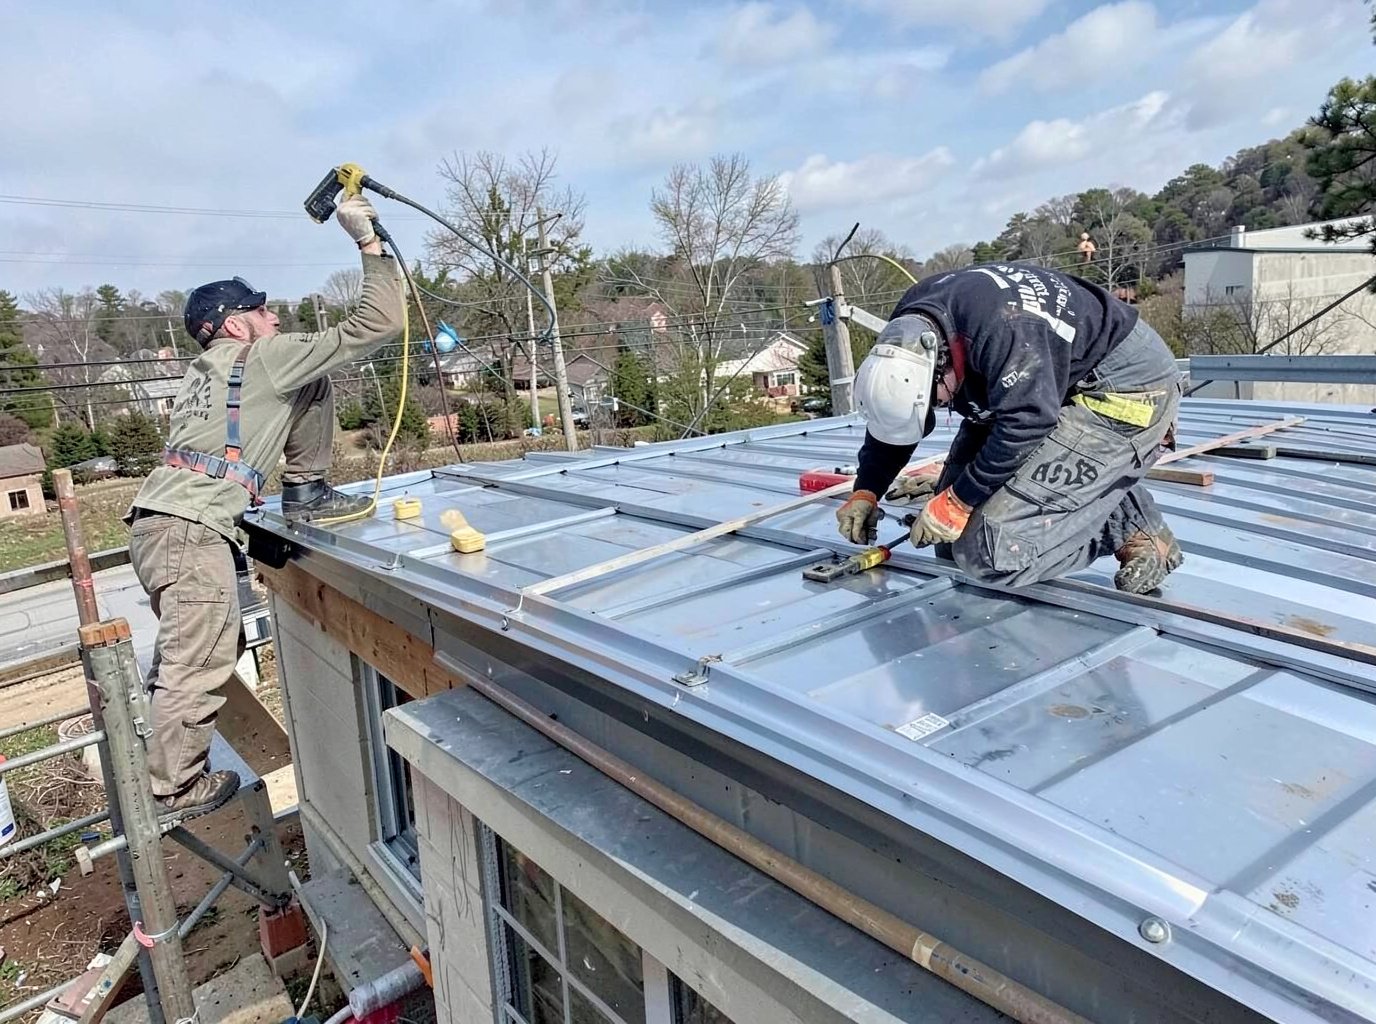
Metal roofing performs well in Roanoke because the valley experiences cold winters, hot summers, and frequent spring storms that drive thermal movement and wind uplift. Standing seam systems with concealed fasteners handle expansion and contraction better than exposed screw panels when temperatures swing thirty degrees in a single day. Homes in Raleigh Court and Wasena often have steeper pitches and older decking that require additional strapping or plywood replacement before panels can be fastened securely.
We source 26- and 24-gauge Galvalume panels with PVDF finishes that resist the tannin staining common from nearby hardwood cover. In Downtown and Grandin Village, narrow lots and shared driveways mean crews stage material early and use ridge-to-eave panel runs to limit foot traffic on finished landscaping. Proper eave and valley detailing prevents ice dam backup during the January freeze-thaw cycles that hit the Roanoke Valley hardest.
Lynchburg and Blacksburg crews sometimes run 29-gauge economy panels that dent under Roanoke hail; we recommend minimum 26-gauge with 1-inch seams for any roof visible from the Mill Mountain Star overlook. Ridge vents must be matched to the metal profile so attic exhaust stays consistent when summer humidity builds in the valley floor.
Flashing transitions at chimneys and skylights are the most common leak points we repair later, especially on 1940s–1960s homes in Wasena where original brick has settled unevenly. We install step flashing and counter flashing in a single sequence rather than relying on caulk that fails after the first hard freeze.
Technician insight
In Roanoke, the thing that catches most people out with metal roofing installation is underestimating how quickly the valley's freeze-thaw cycles lift poorly flashed step flashing on 1950s brick chimneys in Wasena and Raleigh Court; we always run continuous counter flashing instead of relying on sealant that cracks after the first hard winter.
Grandin Village Overlay Job
Homeowner had active leaks at two valleys after a March wind event. We found deteriorated felt under the existing shingles and uneven decking from prior settling. Installed 26-gauge standing seam over new synthetic underlayment with full step flashing at the brick chimney. No callbacks after the next winter's ice events.
Metal Roofing Installation Services We Offer
✓Standing Seam Metal Roof Installation
Concealed fastener panels installed over new or existing decks on homes in Raleigh Court and Grandin Village for long-term leak resistance.
✓Metal Shingle Replacement
Interlocking metal shingles that mimic slate while handling Roanoke's wind loads and snow shedding on steeper Wasena roofs.
✓Screw-Down Metal Panel Installation
Exposed fastener panels for detached garages and outbuildings in Salem and surrounding Independent City properties where budget and slope allow.
✓Metal Roofing Over Shingles
Direct overlay on sound asphalt layers common in 1960s–1980s homes near the Virginia Museum of Transportation, saving removal costs.
✓Ridge Vent Integration with Metal
Custom profiled ridge vents matched to panel seams for consistent attic airflow during humid Roanoke summers.
Metal Roofing Installation Cost in Roanoke, VA
| Service | Typical Range | What Affects It |
|---|---|---|
| Standing seam overlay on asphalt | $9–$14 per sq ft | Moves with gauge, color, and whether deck repairs are needed |
| Full tear-off and new standing seam | $12–$18 per sq ft | Higher on steep pitches or when multiple layers exist |
| Metal shingle installation | $11–$16 per sq ft | Varies by profile and underlayment upgrades |
| Ridge vent addition during install | $6–$9 per linear ft | Includes custom trim matching |
Ranges are typical for Roanoke, VA and confirmed with an exact written quote before any work starts.
How it works
- 1
On-Site Assessment
We measure pitch, check deck condition, and note existing flashing details on the specific Roanoke address.
- 2
Material Selection And Quote
Review gauge, color, and seam style options that match the home's exposure to valley winds and sun.
- 3
Deck Preparation
Replace damaged sheathing, add strapping where needed, and install ice-and-water shield at eaves and valleys.
- 4
Panel Installation
Run panels ridge to eave, install all step flashing and closures, then add ridge vent and trim.
- 5
Final Walk-Through
Inspect every seam, fastener, and transition with the homeowner before leaving the site.
Pricing
Upfront written quotes after on-site measurement; final price depends on pitch, deck condition, and accessory choices.